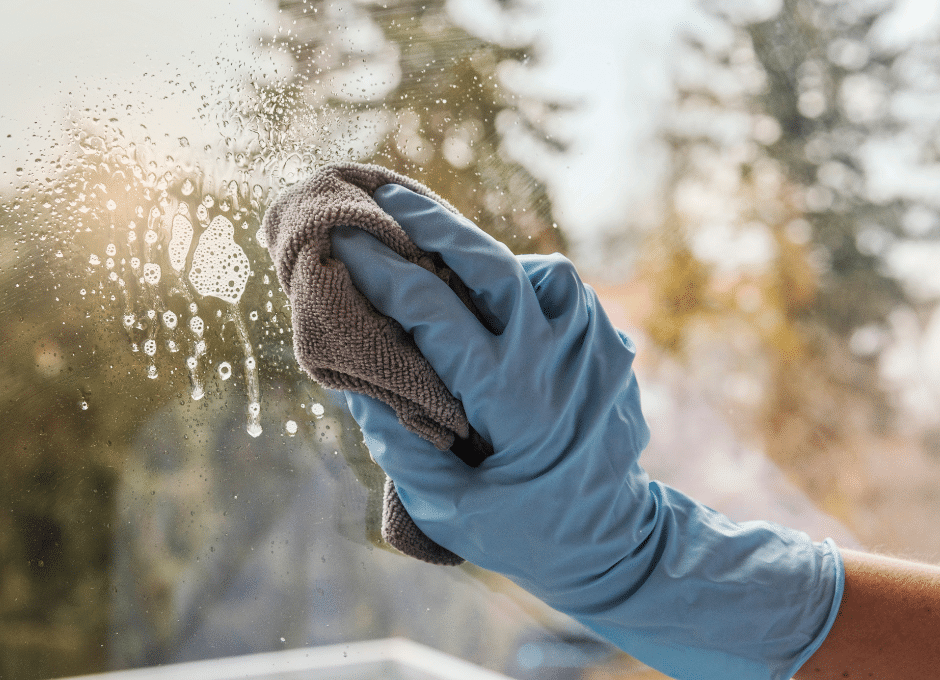
Ready for spring cleaning? The flowers are blooming, the trees are turning green, the pollen is descending, and the mosquito hawks and June bugs are flocking to our homes. Spring is officially here in the Brazos Valley!
It never fails, this time of year you get an itch to do a deep spring cleaning of your home. As your source for all things home cleaning, we have put together the ultimate spring cleaning guide to help you get that cleaning done.
So, go gather your supplies, put your hair in a messy bun, turn the music up, and let’s get to work!
Step 1: Plan Ahead
The first thing you need to do is make a cleaning plan and choose a date to tackle the cleaning. Planning ahead is the essential first step to spring cleaning success.
- Choose a day or two that you can devote to cleaning
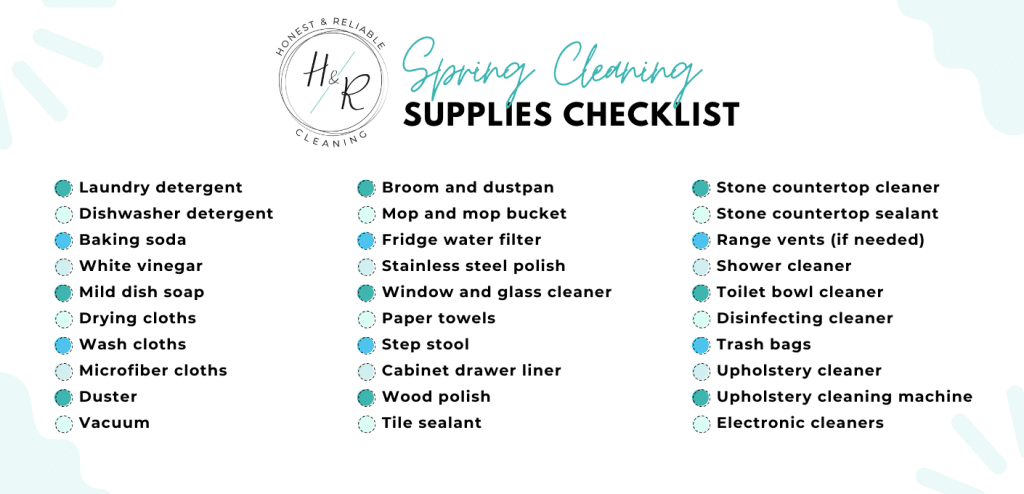
- Review our cleaning supplies checklist and make note of cleaning supplies you need to pick up
- Purchase any cleaning supplies you need before the big day
Step 2: Prepare for a Day of Cleaning
Spring Cleaning day is here! Make the most of the day with a few steps so you can spend time focusing on cleaning.
- Eat a good breakfast. Coffee alone will not tide you over while you scrub away at your home. Eat a good breakfast full of protein to give you prolonged energy.
- Set the mood. Turn on your favorite music or podcast to motivate you to get up and get started
- Gather supplies. Get all of your supplies ready and at hand so you’re not wasting time searching for what you need mid-cleaning.
- Send your family away. Whether it’s a sitter, spouse, family, or friend, find someone to care for your kids and pets so they are out of the house. When little ones and furry friends are in the home, it can be like brushing your teeth while eating an Oreo.
- Wear comfortable clothes. Spring cleaning is a marathon, not a sprint. So be prepared with comfortable clothes and arch-supporting shoes.
Step 3: Get to Cleaning!
The next step in our Ultimate Spring Cleaning Guide is to get to cleaning! We’ve outlined a complete checklist for your spring cleaning below.
Start a Load of Laundry
Get a load going now. You’ll be doing laundry throughout the day so it’s important to get a load going now.
Do the Dishes
Empty and load your dishwasher and run a cycle. Hand wash any items that can’t go into the dishwasher and leave to dry. When it’s time to clean your kitchen, your dishes will be ready to put up.
Declutter and Organize
Going from room to room, quickly go through your items to organize and declutter. Sort your items into several categories: keep, donate, discard.
- Keep: items you keep should be organized in their respective places
- Donate: make a pile of items to donate or sell
- Discard: these items are trashed or recycled.
This task should be done quickly. Resist the urge to go down memory lane or get sidetracked onto other tasks. Stay focused on this task. Also, this is not time to clean yet. After you declutter, the cleaning will begin. You will find, however, after you’ve decluttered and organized your items, cleaning is much easier. Not to mention, you will be much more motivated to clean when you see your space beginning to be transformed.
After you’ve decluttered your home, take out items for trash and recycling. Keep your pile of items to be sold and donated until you are done cleaning so you don’t lose momentum!
Prepare Your Beds
Move your load of laundry into the dryer and start a load of bedding including sheets, pillow cases, duvet covers, quilts, comforters, throw blankets, and any other bedding items.
Sprinkle a thin layer of baking soda over your bare mattresses to set. The baking soda absorbs odors and is a quick way to refresh your beds. When you get to cleaning your bedrooms, you will vacuum your mattresses.
Clean Your Kitchen
The kitchen is often the center of a home and a hot spot for mess. We suggest starting your deep cleaning in your kitchen so the remaining rooms go quicker.
- Start a self-cleaning cycle on your oven.
- Remove any pans, foil and other items you’ve put in the oven before cleaning
- Start the cycle following your appliance’s recommended instructions, making sure to keep pets and children away from the oven as it reaches extremely high temperatures.
- While the oven is cleaning, move onto other areas of your kitchen. Keep in mind, even after the cycle is completed, it may take an hour or so for your oven to cool enough to clean out the interior.
- If you don’t have a self cleaning oven, you can follow this simple method. Make a paste of baking soda and water. Apply the paste to the interior of the oven. Fill a spray bottle with equal parts of water and white vinegar. Spray the oven, making sure to get every area. For tough messes, apply extra spray. Let the foamed solution sit in your oven for at least 12 hours before wiping it out with a clean cloth and water.
- Clean your dishwasher
- Start by cleaning the filter. If possible, remove the filter and rinse with warm, soapy water. Check the bottom of your dishwasher for any pieces of debris or food that were caught by your dishwasher filter. Replace the filter.
- Measure two cups of white vinegar into a dishwasher-safe container. Run a normal cycle with the heat dry option turned off, recommends Whirlpool.
- After the normal cycle is done, sprinkle baking soda on the bottom of your dishwasher, run a hot water cycle, and enjoy your cleaned dishwasher!
- Clean your fridge
- Start by going through the items in your fridge. Dispose of expired items. Combine condiments when possible, and consolidate items to save space.
- Move items that you’re keeping to a space on the counter so you can reach all areas in your fridge.
- Take out bins and soak them in water and mild dish soap in the sink.
- Using a clean cloth with mild soap and water, wipe down the inside of the fridge including the top and bottom shelves, the sides, top and back of the fridge, doors and cubbies, and the bottom of the fridge.
- Also, wipe down the rubber sealing parts of your fridge, getting rid of the spills and mess that build up in the creases of the rubber seal.
- Wipe the inside of the fridge clean with a dry cloth.
- Wash and dry the fridge bins and return them to your fridge.
- Return food and other items to your fridge.
- Repeat this process with the freezer and snack drawer of your fridge.
- Clean your fridge’s water dispenser system following your appliance’s recommended processes. Replace your water filter.
- Wipe down the exterior of your fridge. Using vinegar solution, spray the water dispensing area of your fridge, which is prone to water stains. Remove the tray and soak in vinegar solution while you clean the rest of your fridge.
- Dust and wipe clean the top of your fridge.
- Dust and clean your fridge coils. Pull your fridge forward so that you can access the back of the fridge. With a clean cloth, gently wipe down your coils then dust or vacuum the coils, removing all built up dust and grime.
- Clean under your fridge. While it’s moved forward, clean under your fridge and vacuum/dust around the base of your fridge and on the sides, all the areas that are normally hidden from view (and regular cleaning).
- If your coils are on the bottom of your fridge, carefully remove the grill from the front of your fridge and gently clean the coils in the same way recommended above. Replace the grill when you’re done.
- Using soapy water, wipe up the vinegar solution in your water dispensing area. Wash and replace the tray. Dry the area.
- Using a stainless steel polishing product, gently polish and shine the front of your fridge until it is shiny clean!
- Clean your microwave
- Remove the tray from your microwave and soak in the sink
- Using a clean cloth with mild soap and water, wipe down the inside of your microwave.
- For stubborn messes, keep the tray inside the microwave. Fill a microwave safe dish with 1 cup of water and 1 tablespoon of vinegar. Microwave the dish for 2 minutes then let it rest in the microwave until it’s cool enough to remove. Wipe down the microwave with a clean cloth in mild soapy water.
- Don’t forget to clean the microwave door and around the frame.
- Wipe clean the exterior of the microwave, focusing on the keypad.
- Polish the outside of your microwave until it’s sparkling clean.
- Polish the exterior of your dishwasher after the final cycle
- Clean the inside of your upper cabinets
- Using a step stool, wipe the interior of your top kitchen cabinets.
- Move items over if possible or take them out of the cabinet to clean and replace as you go.
- Wipe the inside of your cabinet doors as well
- Dust your kitchen lights, vent covers, and other items moving from the ceiling down
- Clean and polish light fixtures, dust/vacuum curtains
- Wash kitchen windows and window sills
- Clean the outside of your upper cabinets
- Using a duster or dusting cloth, dust off your cabinet doors and crown molding
- Using a clean cloth with mild soapy water, wipe down your upper cabinets and cabinet doors, paying special attention to the door knobs/handles that accumulate the most mess.
- If you have wood cabinets, polish them with a wood polish
- Clean your range hood
- Using mild soapy water, clean your hood range from the cover to underneath
- Clean or replace the range vents
- Wipe down the backsplash of your kitchen.
- Using mild soapy water, wipe down the backsplash and underneath the top of your cabinets where splashes, spills, grease, and mess tend to congregate.
- If you have tile backsplash, pay close attention to the grout to get it very clean
- Apply a new coat of tile sealant to help protect your tile and grout, and keep your backsplash cleaner longer.
- Dust, clean, and polish countertop appliances and items
- Items like toasters, toaster ovens, air fryers, coffee makers, and more should be quickly cleaned out.
- Run a descale cycle on your coffee and/or espresso machine.
- Clean your countertops
- Move items on your countertop to clean and wipe dry your countertop.
- If your countertop is natural stone, follow your installer’s instructions for stain removal and reapplying sealant. Some stone countertops recommend resealing every 6 months or so, making this an important step to include in your spring cleaning.
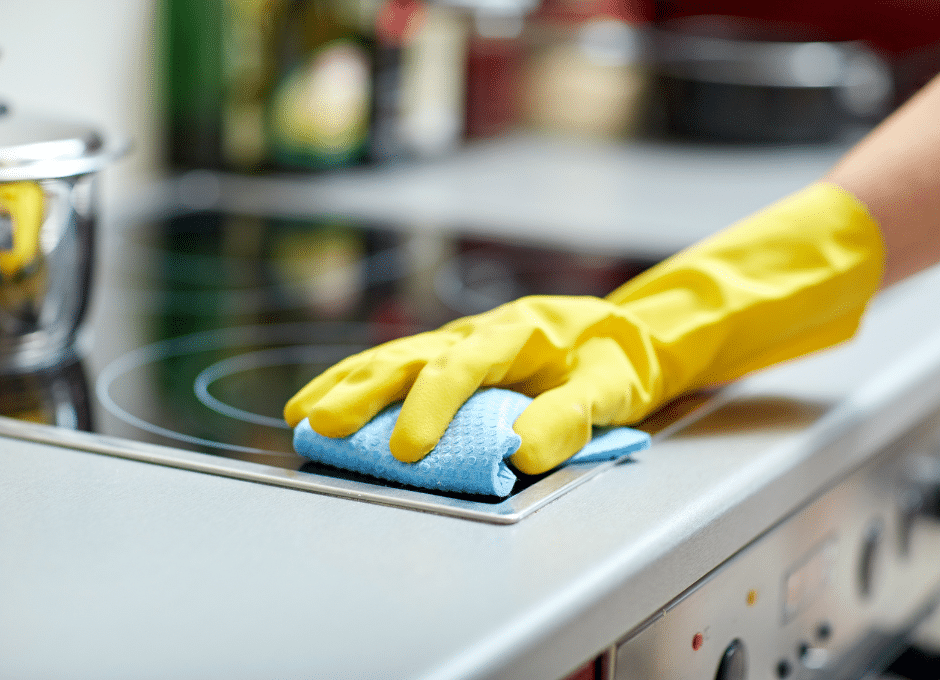
- Clean your stove top
- Gas or electric, freestanding or slide-in, stove tops vary and so do their cleaning processes
- Following the manufacturer’s recommendations, clean your stove top and all accessories.
- Remove knobs and put them to soak in soapy water
- Wipe clean the area underneath the knobs and polish
- Wash and rinse the knobs, dry well, and put them back on
- Using a butter knife or other thin item wrapped in a paper towel or washcloth, run the butter knife along the outer edge of your stovetop to wipe up grease and food crumbs.
- Clean your kitchen drawers
- Move items out of your drawers and use a hand vacuum to remove crumbs and debris.
- Using a clean cloth with mild soapy water, wipe out your drawers getting into the corners and in the back. Dry with a clean towel.
- Replace or add drawer liners to protect and keep your drawers clean
- Put your items back
- Wipe down the outside of the drawers, paying special attention to the knobs/handles.
- Clean inside your lower cabinets
- Move or remove items in your lower cabinets and using warm soapy water, wipe out the shelves, sides, and bottom of the cabinets.
- Wipe down the inside of the doors
- Thoroughly dry the cabinets, replace or add drawer liners, and put your items back
- Clean outside your lower cabinets
- Then thoroughly clean the outside of your cabinets including cabinet doors
- Start by wiping clean the underside of the lip of your countertops where mess and grease can accumulate, then move down to the base of your cabinets.
- If you have wood cabinets, apply a wood polish.
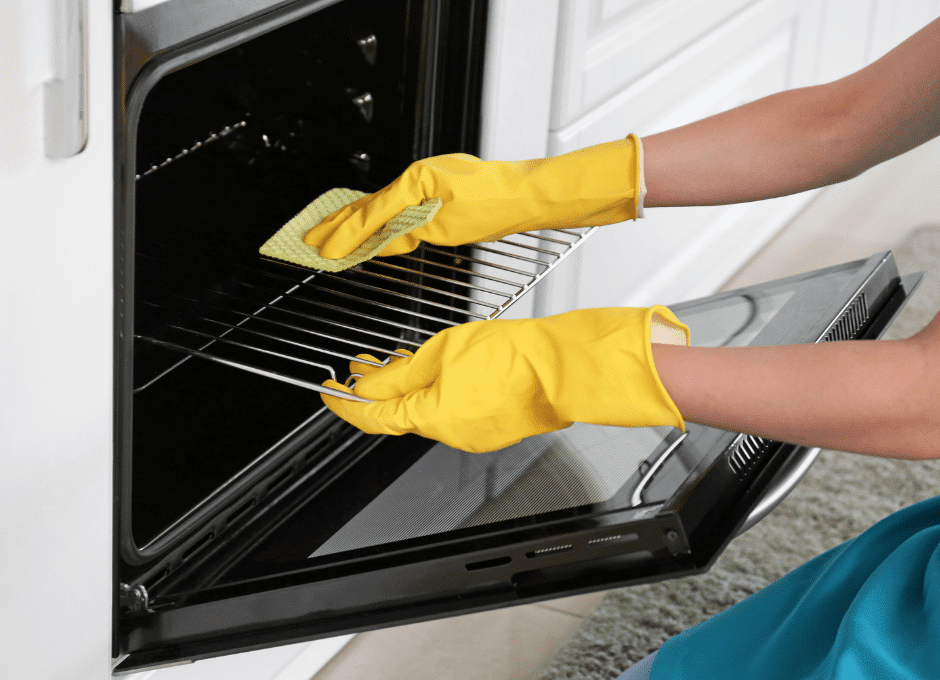
- Finish cleaning your oven
- When your oven has cooled, use a washcloth and water to wipe out the ashes and interior of your oven and oven door. Finish cleaning until your oven is all clean. Wipe down the oven racks and replace.
- Clean outside of your oven and polish
- Clean your sink
- Sprinkle a half cup of baking soda into the garbage disposal then pour in about a cup of white vinegar. Let it set for 15 minutes. Using soapy water on a small scrub brush, scrub under the lip of the sink, around the faucets and other handles and surfaces of the sink, and around the sink drain.
- After 15 minutes, turn on the garbage disposal and run hot water for several minutes.
- Toss lemon peels into the garbage disposal to provide extra cleaning and release a fresh scent into your kitchen
- Wipe your faucets, handles, soap dispensers, and sink clean and rinse them off
- Dry your sink and sink area and apply a stainless steel polish if applicable
- Sweep your kitchen

Start Another Load of Laundry
Before moving onto the next room to clean, throw another load of laundry in the washer and dryer, and fold and put away the dry load. Address the laundry as you go so you are not left with a large pile of laundry to take care of after a day of cleaning (you’ll thank yourself later!).
Clean Your Pantry
- Review the items in your pantry, throwing out expired items and trash
- Combine food items when applicable and consolidate items to save space
- Dust light fixtures and molding, dust from corners of the ceiling and doors
- Starting at the top shelves, move items over to wipe shelves clean and dry well, put items back
- Wipe down the walls and underneath shelves as you go
- Wipe clean the doors front, back, and side especially around the door knobs/handles
- Dust around the baseboards of the pantry and sweep it clean
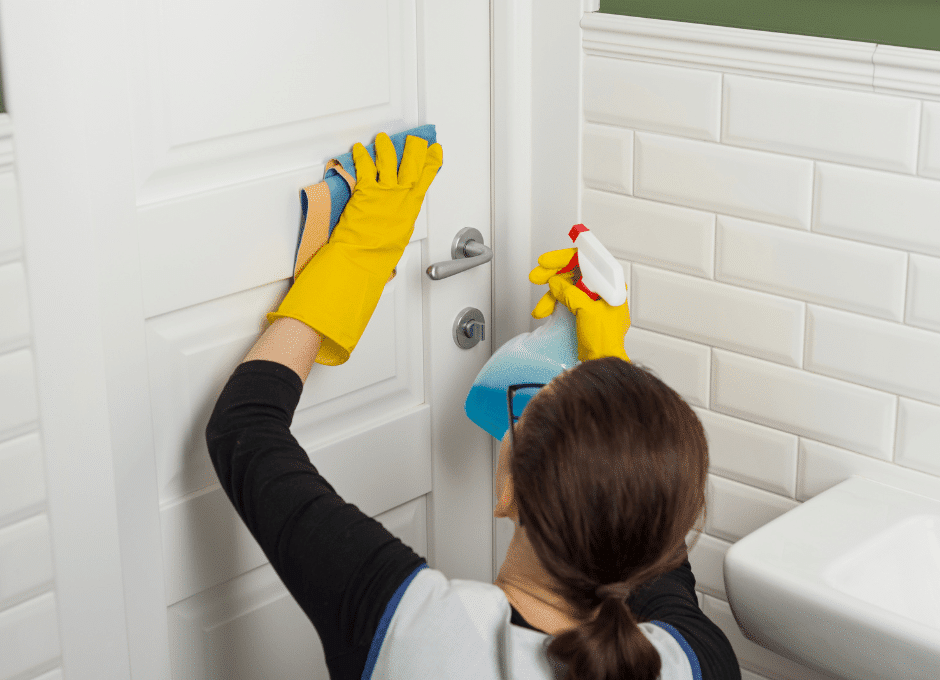
Clean Your Bathrooms
It’s time to focus on the next hotspot of your home, the bathroom. While you may be tempted to move to other areas of your home surrounding your kitchen, don’t. By tackling the most time-consuming areas of your house first, you provide a snowball effect as you move through the last spaces in your home.
- Take down your shower curtains, grab your towels and hand towels, and pull up your bath mats and put them to wash
- Take out items in your bath and shower and spray a cleaner to set while you tackle the other areas of your bathroom
- Remove hard water build up on your shower head by filling a bag with water and vinegar then sealing it around your shower head. Leave it to soak.
- Dust your bathroom light fixtures, vents, molding, and doors including cabinet doors
- Polish the light fixtures
- Clean the inside of your bathroom cabinets, replacing/adding cabinet liners
- Clean the outside of your bathroom cabinets focusing on the knobs/handles
- If you have wood cabinets, use a wood polish
- Polish your bathroom mirrors
- Clean your bathroom windows, dust and clean bathroom curtains or blinds, and clean window sills
- Wipe clean your bathroom counters and items on your counters. If you have natural stone countertops, follow your installer’s instructions for cleaning and sealing your countertops.
- Clean and polish the sinks and faucets
- Clean your shower and bath
- Using a scrub brush with warm soapy water, scrub your shower area starting at the top and moving down.
- Scrub the inside of your tub/bottom of your shower and around the drain
- Pay special attention to areas in your grout that show signs of mold or discoloration and to the corners and creases.
- Remove the bag of water and vinegar from your showerhead and discard
- Run hot water through the shower head and rinse off your shower area starting at the top and going down.
- Polish your shower head and faucets.
- Polish shower doors
- Wipe down the outside of your tub
- Clean your toilet
- Using a disinfectant cleaner, clean the outside of your toilet moving from the top, down, Don’t forget to clean the handle.
- Wipe down the toilet seats and lid. Lift up the screw covers for your toilet seats to clean and disinfect the mess.
- Put a toilet bowl cleaner inside the toilet bowl to set.
- Using a disinfectant cleaner, wipe down the wall and area around your toilet, including the floor and baseboards around the toilet.
- If you have a trash pail, remove the trash bag and clean the inside and outside of the pail. Replace the trash bag.
- Clean the floor under the trash pail.
- Scrub the inside of the toilet bowl including under the lip of the toilet.
- Run a clean flush of your toilet and rinse off the toilet bowl scrubber then leave it in a bin of disinfectant and water to kill any germs and prevent odor.
- Sweep/vacuum the bathroom floor
- Repeat this process for every bathroom in your home
- Disinfect knobs, handles, levers, faucets, and other areas in your bathroom that your hands grab and touch.
- Replace shower curtains, mats, and hand towels as they are cleaned.
Do another load of laundry
- Move laundry over, fold and put away dry laundry.
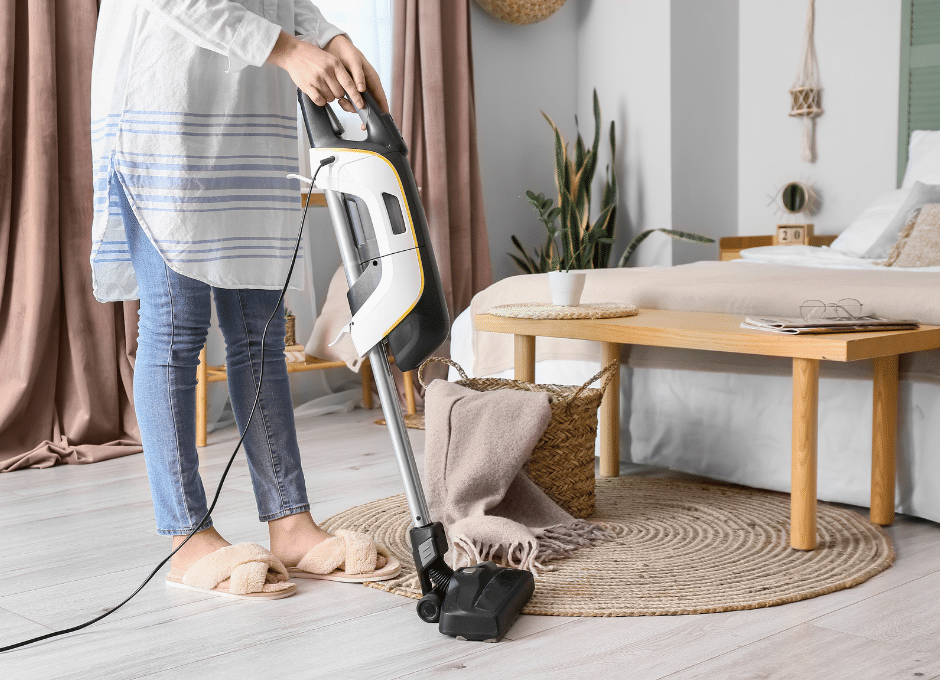
Clean Your Bedrooms and Closets
By tackling the bedrooms, you guarantee that you will have a nice clean space to sleep in if you have to tackle the rest of the spring cleaning the next day.
- Dust ceiling fans, light fixtures, vent covers, molding, curtain rods, and doors.
- Clean your mattresses
- Vacuum the baking soda off of your mattresses
- Spray an upholstery freshener on your mattresses and pillows if desired
- Put on mattress covers and clean bedding
- Dust and polish mirrors, furniture, shelves, and items on them
- Dust and polish wall frames and wall art
- Dust and clean windows, window sills, curtains, and blinds
- Polish tvs and electronics
- Pull your bed away from the wall and vacuum/sweep behind the bed where items may fall. Put the bed back
- Move items from under the bed and vacuum/sweep well. Return the items
- Move furniture and/or vacuum/sweep under the furniture. Put the furniture back.
- Using an upholstery or carpet cleaner, spot clean rugs and carpets.
- When dry, vacuum the rug and carpet.
- Clean your closets
- Dust light fixtures, molding, doors, and wall art
- Wipe clean and dry shelves
- Move hangers and dust the hanging rods
- Move items and rugs out of the way and sweep/vacuum the floors of your closet. Replace the rug
- Arrange your hanging clothes, folded clothes, shoes, bags, and accessories neatly in the closet.
- Wipe clean the doors and frames to remove smudge marks
Tackle the Toys
If you have children in your home, take time to clean toys and books that are a magnet for mess.
- Using a safe, mild soap, wipe clean toys and board books.
- Empty bins and wipe them clean. Dry them well and return cleaned toys to the bins
- Dust, clean, and polish furniture to store and display toys and books
- Using mild soap and microfiber cloth, clean gaming electronics and accessories. Follow the same process for music, video, and other electronics.
Clean Dining Areas
Nearing the end of our spring cleaning checklist, it’s time to clean the dining areas including formal dining rooms and breakfast rooms.
- Take up cloth table mats, napkins, and other dining cloths and put them in the wash
- Dust and polish light fixtures, ceiling fans, molding, wall frames, wall art, curtain rods, curtains, blinds, and doors.
- Wash windows, window sills, and blinds.
- Clear off wash tables. Wash all parts of the table from top to bottom and along the legs of the table. If your table is wood, follow with a wood polish.
- Wash and polish dining chairs. If you have fabric chairs, use an upholstery cleaner to spot clean fabric.
- Clean and polish dining furniture, lamps, and decor
- Dust, clean, and polish dining ware and items in hutches and on display.
- Spot clean rugs and carpet in the dining rooms.
- Vacuum/sweep the floors.
Living Areas
The final spaces to tackle are the living areas!
- Take up all throw blankets and throw pillow covers and put in the wash.
- Dust and polish light fixtures, ceiling fans, molding, wall frames, wall art, curtain rods, curtains, blinds, and doors.
- Wash windows, window sills, and blinds.
- Wipe down walls, molding, doors, baseboards, and areas that are prone to smudges, fingerprints, and mess.
- Clean sofas and fabric chairs
- Pull up all cushions and vacuum sofas, loveseats, and fabric chairs
- Using an upholstery cleaner, clean all upholstered furniture
- Move the furniture and clean underneath it. Sweep/vacuum the floor under the furniture and move it back.
- Dust and polish furniture and shelves and items on them. If your furniture is wood, use a wood polish.
- Using a soft microfiber cloth and electronics cleaner, clean and polish electronics like tvs, sound bars, speakers, gaming consoles, radios, and etc.
- For built-ins, book cases, display cases, move items and dust and polish shelves, and the insides and outsides of the pieces. Put the items back.
- Vacuum rugs and carpets
- Using an upholstery/carpet cleaner, spot clean rugs and carpets
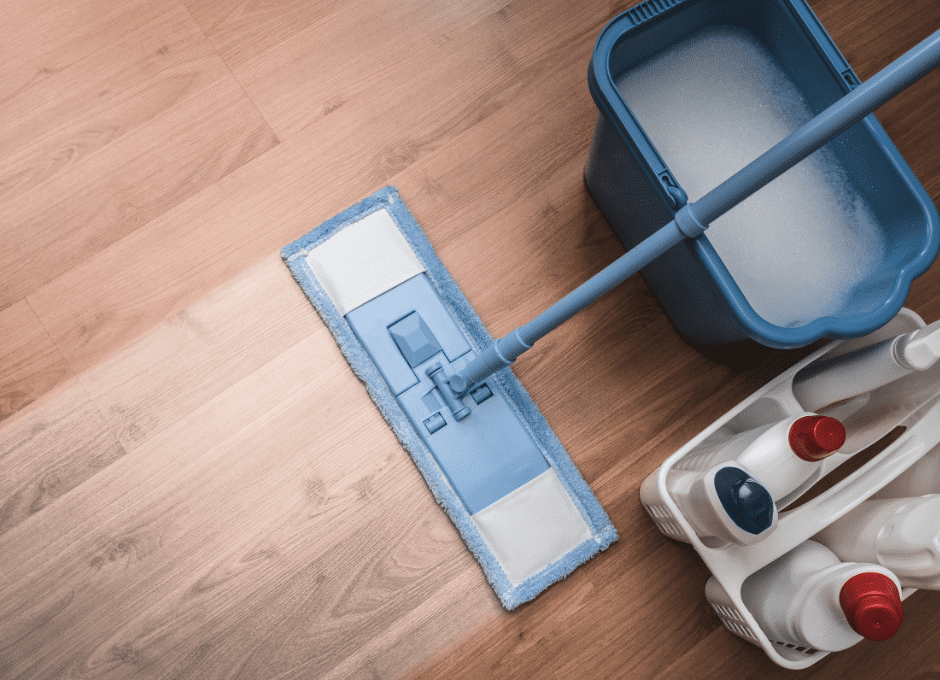
Vacuum, Sweep, and Mop
Do a vacuum and sweep of the remaining areas in your home. Using hot water and floor cleaner, thoroughly mop your home. For wood floors, follow the recommended cleaning products and water temperature.
Last Loads of Laundry
Do the final loads of laundry, folding and putting away laundry as it dries
Last Touches
- Take out the last bags of trash and recycling
- Put items that you are donating in your car
- Put away all cleaning supplies
- Order delivery and enjoy your clean home!
Save Time and Let Us Clean for You
When we said this was the ultimate cleaning checklist, we were serious. If this list is overwhelming for you, don’t sweat it! Our deep clean service can take care of the majority of this list for you so instead of devoting two days of your life to cleaning your home, you could spend that time doing activities you love!
Our team is insured and bonded and highly trained. We pride ourselves on taking care of the biggest messes down to the smallest detail. We do it all! Spring in Aggieland is a beautiful time, go out and enjoy it and leave the tedious cleaning tasks to the H&R Cleaning crew!